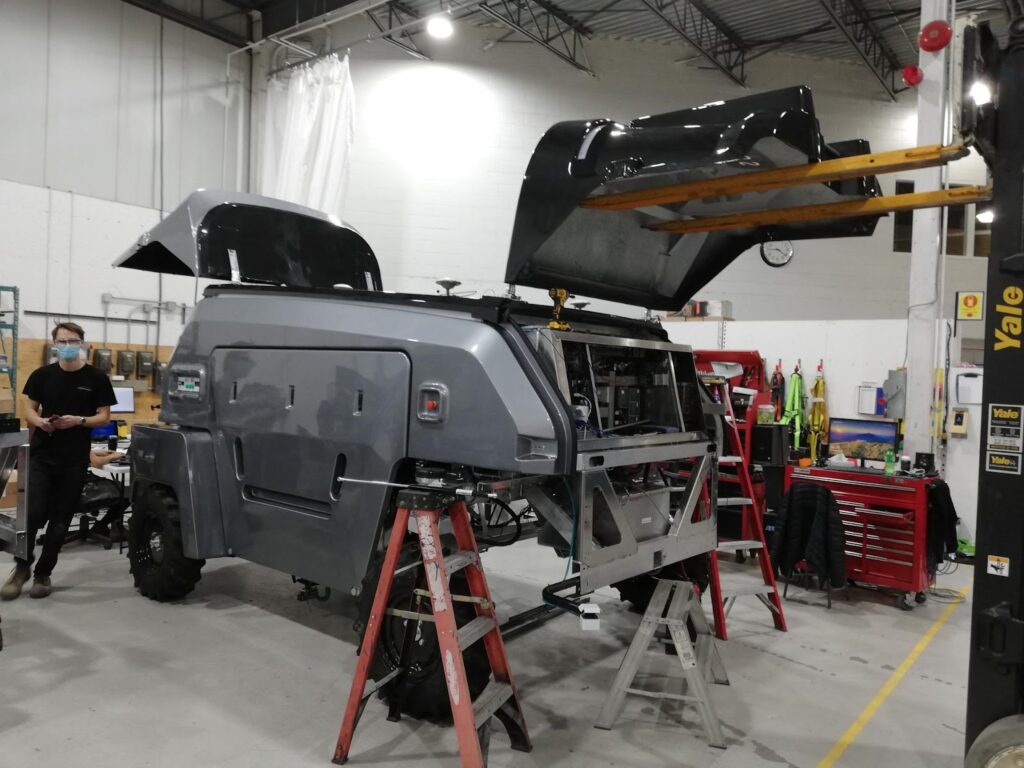
Understanding Different Product Prototypes
Designing any product is always a tough job. In fact, it is the toughest job in the whole product development cycle. Because before you can design anything, there is no point of reference. A product doesn’t exist, so it isn’t easy to know how it will work. But, after a point of time, you’ll need to understand how the product is coming along.
After you have designed a product, you need to know how well it’s working for the users. You will have to decide if you need to make changes to that product or if you need to move on to the next product.
Now let’s look at the scenario from a different perspective. If a customer can see the physical product, he is much more likely to buy it. So the more you can build your product, the more likely you will sell it.
Prototypes are very useful for testing the mechanical and electronic functions of the product. It helps you test the ergonomics and change the design specifications before manufacturing the final product.
Prototypes’ most important thing is that they get a customer to buy your product. Therefore, you can take support from a rapid prototyping company to develop your prototype. But that is not always necessary. Want to know why? Let’s learn in detail.
Different stages of product prototype
You will be able to set realistic targets for your product design and save money along the way if you are familiar with the various prototype stages.
Three stages of product prototyping
Showcase prototype
Showcase prototype is the first step of your design phase. We’re mostly interested in showing the prototype’s overall size, shape, and major user experience components. Using low-fidelity non-working prototypes and digital drawing tools to evaluate user reactions is the best approach to save money at this early stage when the product design is immature.
A showcase prototype doesn’t even need to move (for example, a wheel doesn’t need to spin) so spending lots of money building prototypes is often a waste for a start-up on a tight budget. However, if you’re designing something that requires motion, you might want to consider prototyping it first.
If you’re not willing to spend a lot of money, you might want to consider making low-cost prototypes. For example, you could create a simple prototype by cutting out paper shapes from an old magazine or newspaper or even cutting up pieces of cardboard. You could also use clay or wood for inexpensive models. It’s not always mandatory to create prototypes using 3D printers. But if your design requires them, you should go for that.
Function prototype
Once a display prototype has been created, it will be time to move on to the subsequent stages of development, which will involve piecing together a genuine working device.
It is possible to prototype individual components of your product if you separate them into smaller modules that can function independently of one another. Because of this, you won’t have to pay for pricey software licensing or the necessary gear expenditures, resulting in cost savings for your business. Additionally, the fact that each module can be produced independently streamlines the development process.
Because of the role of the product, it may be difficult to avoid using more expensive methods or materials during the development phase. However, change is unavoidable; therefore, minimizing costs throughout the iteration process is essential. Utilizing inexpensive 3D-printed materials or even cardboard can assist in cost reduction.
Test prototype
Testing prototypes can be expensive. But they’re not necessarily an expense that should be incurred once the project begins. In fact, testing prototypes before the project begins saves money because it helps identify problems early on and prevents them from becoming costly later on. A good rule of thumb is to start planning your testing strategy about two months before the launch date.
When developing an autonomous vehicle, it is not necessary to have complete and comprehensive knowledge of the automobile. All you have to do is construct the necessary components (such as wheels) and then simulate the impact of various parts on the performance of the wheel bearing.
By isolating each component into its own test case and putting them through the testing process individually, it is possible to simplify the process of error debugging and, as a result, save money.
Conclusion
When developing a product prototype or any type of prototype, the first thing to do is to plan what the prototype is going to be used for. This will help determine which stage the prototype should be at.
We hope you’ve enjoyed our article about product prototype stages. Thank you for reading. We are always excited when one of our posts is able to provide useful information on a topic like this!
With a solid foundation in technology, backed by a BIT degree, Lucas Noah has carved a niche for himself in the world of content creation and digital storytelling. Currently lending his expertise to Creative Outrank LLC and Oceana Express LLC, Lucas has become a... Read more