How to Enable Safe Mode on Samsung Galaxy Note 7
How to Enable Safe Mode on Samsung Galaxy Note 7
As you know, Samsung Galaxy Note 7 are most popular and powerful in the world today.. If you are a new comer for the Samsung world then you will get some little problems because of your knowledge of about Samsung Galaxy Note 7 .. You think these problems seems like complex.. Don’t think like that. It’s all about your experience. If you are a new user precisely you will think like that.. Read More – ADDING IR SENSOR | AS REMOTE
This article will help you to troubleshoot that all problems on your Samsung Galaxy Note 7 very easily. Lot of problems in your Samsung Galaxy Note 7 can identify by once you enable the Safe Mode on your device. Most of Samsung users are following this method.. but There are another ways to fix your device’s problems. By doing Master Reset on your Samsung Galaxy Note 7 .. but it will double your work. Read More – Screen overlay Detected Problem solved on Samsung Galaxy Note 7
What and Why Safe Mode?

It will disable all of your device’s third-party apps. And only enable pre-installed apps and they will be restored when turn Off SafeMode . Something like after reset your phone. (Data will not be lost. only disable) You can use safe mode when you face ” Screen overlay Detected” , or to check Virus App , MIc , Sound Not working or Slow Down. Read More – What Can Do With Safe Mode
Boot In to Safe Mode on Samsung Galaxy Note 7
Here are some steps that you have to follow:
- Turn Off your Samsung Galaxy Note 7 .
- Press and Hold Power Button.
- Release Power button and hold Volume Down Key.
- Hold Volume Down Key.
- Release Volume Down key and unlock your Samsung Galaxy Note 7 .
Here we are describing above methods Step by Step With Pictures ..
Step 1 : Turn Off your Samsung Galaxy Note 7

- To do this first you have to turn off your Samsung Galaxy Note 7 . Like shown below, hold the Power Button for few seconds and select the option to turn off your Samsung Galaxy Note 7 .
Step 2 : Press and Hold the Power Button
- After switch off your device then turn on your device again by holding the Power Button.
Step 3 : Release Power button and hold Volume Down Key

- After you power on your Samsung Galaxy Note 7 then immediately press and hold the Volume Down key when appears the SAMSUNG logo or wait for first lights up on your screen.

- When you start to press volume down key remember that release the power button. Because, in that time you can press one button only.
Step 4 : Hold Volume Down Key
- Please hold the Volume Down key for a few seconds until finish restarting and appears the Lock Screen. Like shown below.
- Then see properly that is there displaying Safe Mode icon on your left corner of the screen.

Step 5 : Release Volume Down key and unlock your Samsung Galaxy Note 7
- Once display the Lock Screen and Safe Mode then release the volume down key.
- Now you can unlock your Samsung Galaxy with lock screen.. Here, you have successfully enable Safe Mode on your Samsung Galaxy.
An alternate method is available

- Press and hold the Power button until the Power off box prompt appears.
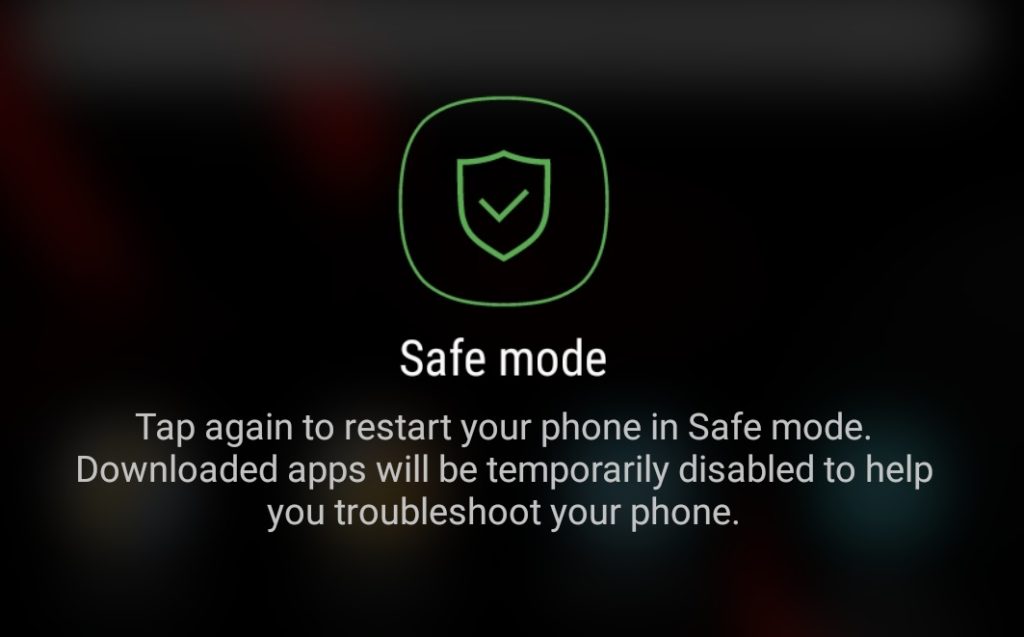
- Touch and hold Power off until the Safe mode prompt appears.
- To confirm, tap Safe mode. (you can Try this if you have problem with Volume Down)
Turn off safe mode on Samsung Galaxy Note 7
- Press and hold the Power key.
- Tap Restart.
- See More
Thank you for coming to our Page. If this page helped you , So then please share this website to all Social Medias like Facebook ,twitter and Reddit so then Others can find this SafeMode Guide. Finally If you have any problem then don’t hesitate, feel free to Leave a Comment with Error Message. So one of team our team member will help you as soon as possible. Thank You for Staying with us. Keep viewing our page and don’t forget to subscribe. we will update you with the latest news.
With a solid foundation in technology, backed by a BIT degree, Lucas Noah has carved a niche for himself in the world of content creation and digital storytelling. Currently lending his expertise to Creative Outrank LLC and Oceana Express LLC, Lucas has become a... Read more